Tuesday, October 20, 2015

Testing the paint sealer

My plan is to fill the bottom holes, sand it and repeat until the surface is in the best shape.

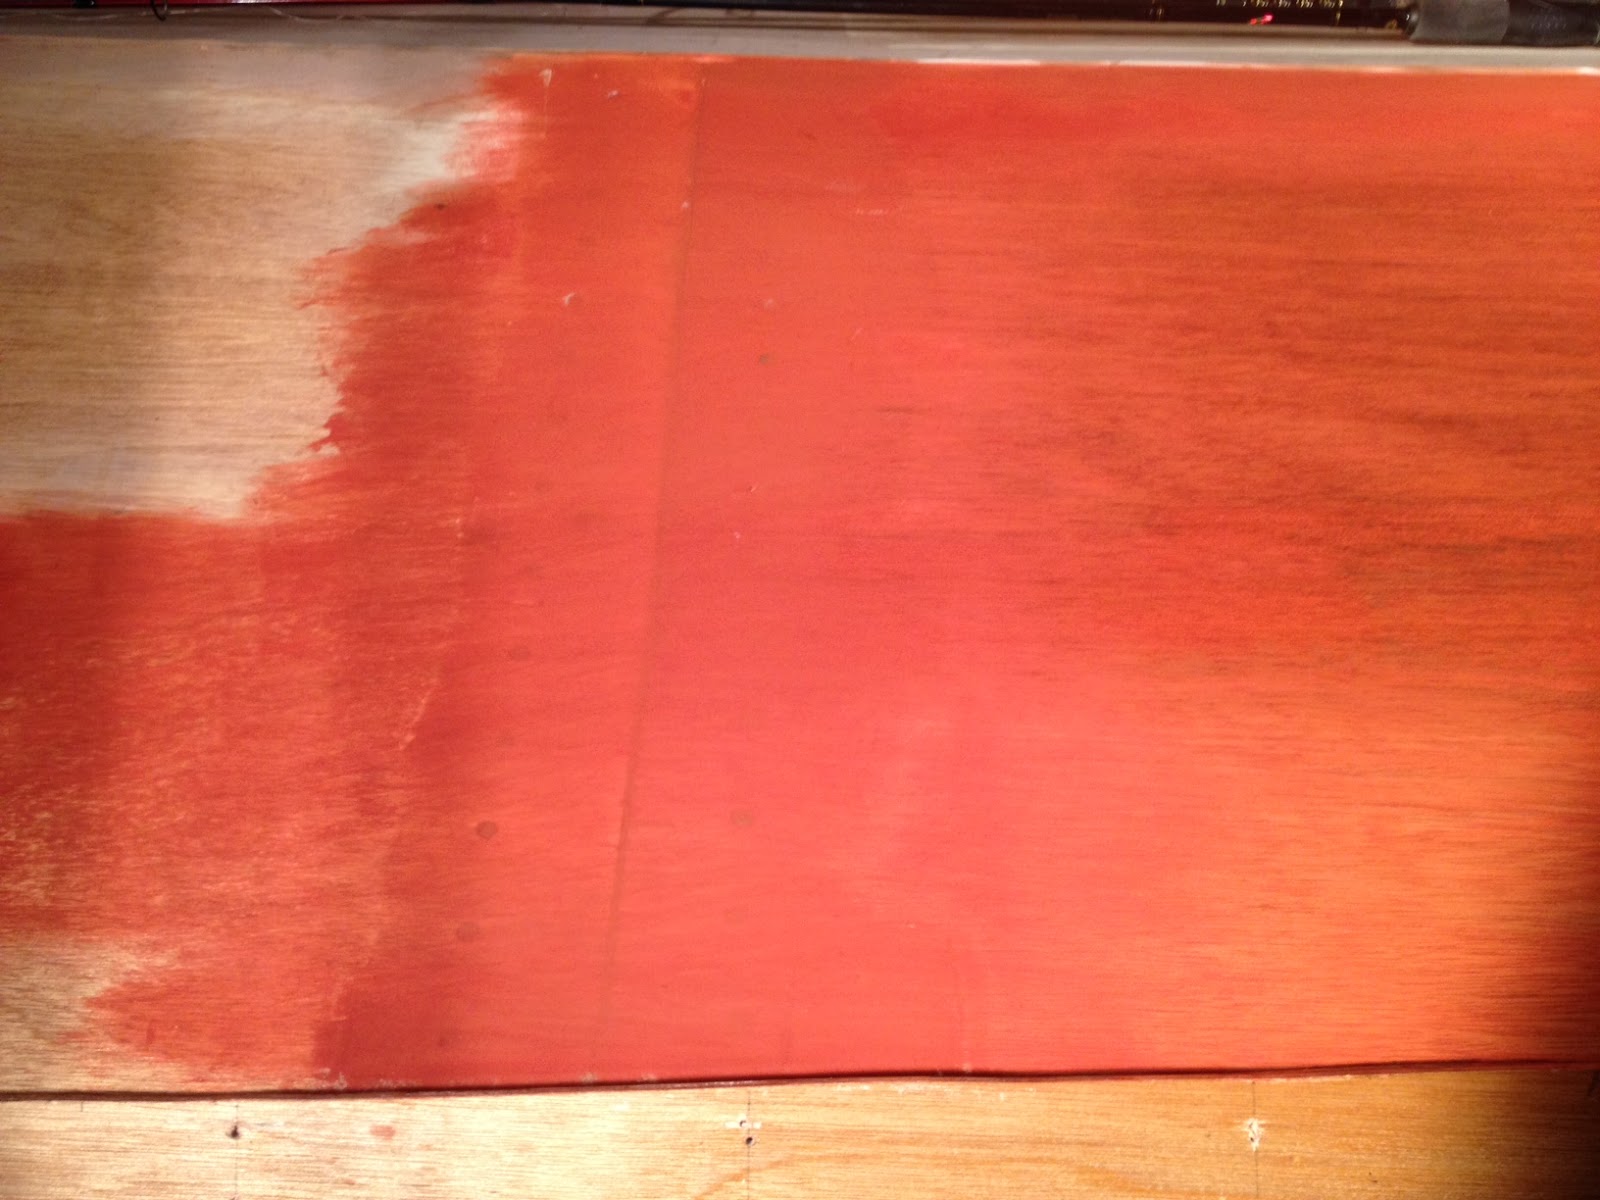
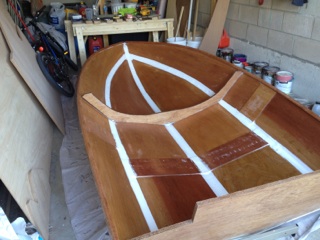
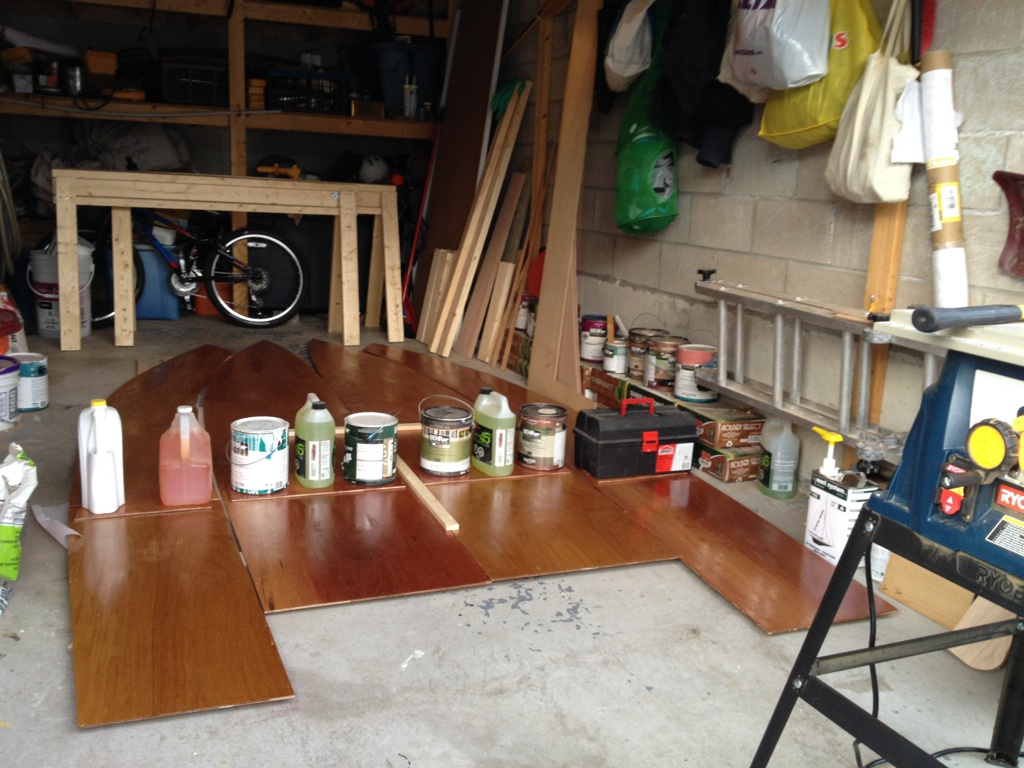
Once this step is completed, I want to cover the boat's exterior with Petite Red Mahogany sealer, sand it and apply a layer of epoxy on top of it followed by applying the fiberglass before finishing with 5-6 coats of varnish.

Basically I want to give it a uniform color before applying the fiberglass.

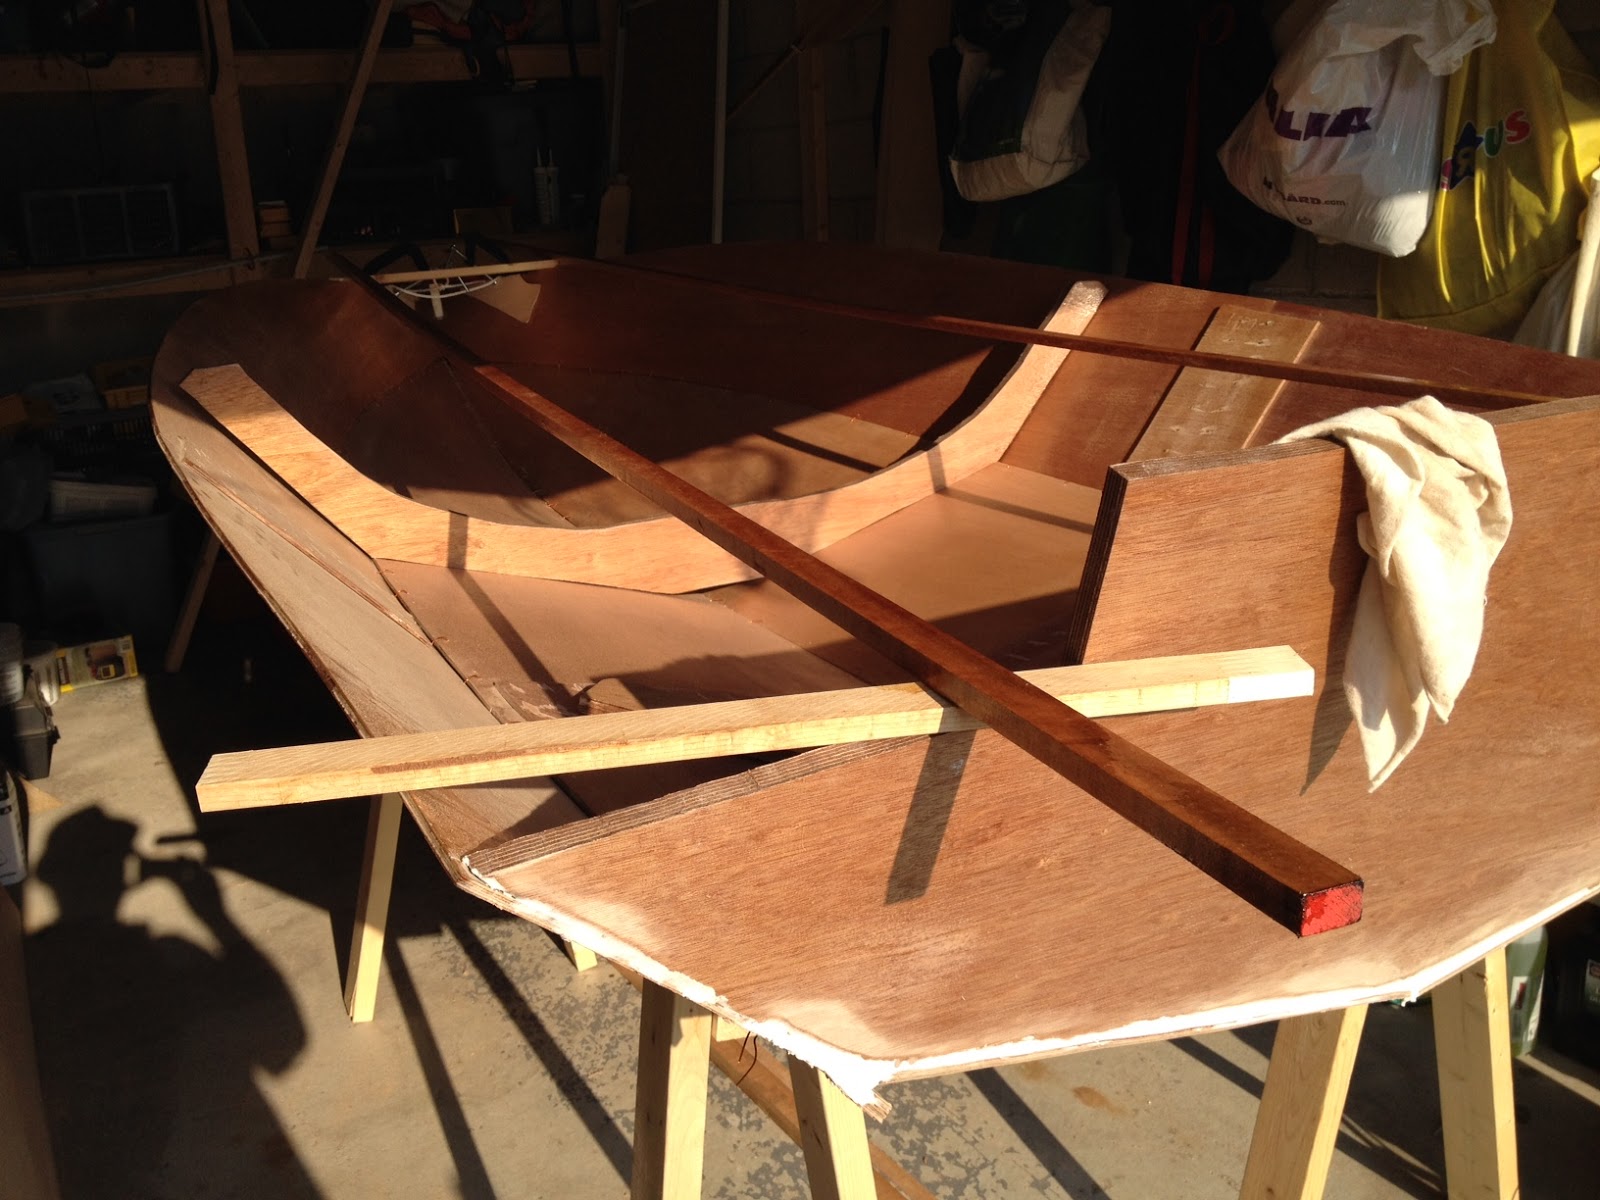
Have considered double-planking if the finish will not be good enough, but this involves the build of several frames inside the boat to support the planking weight.

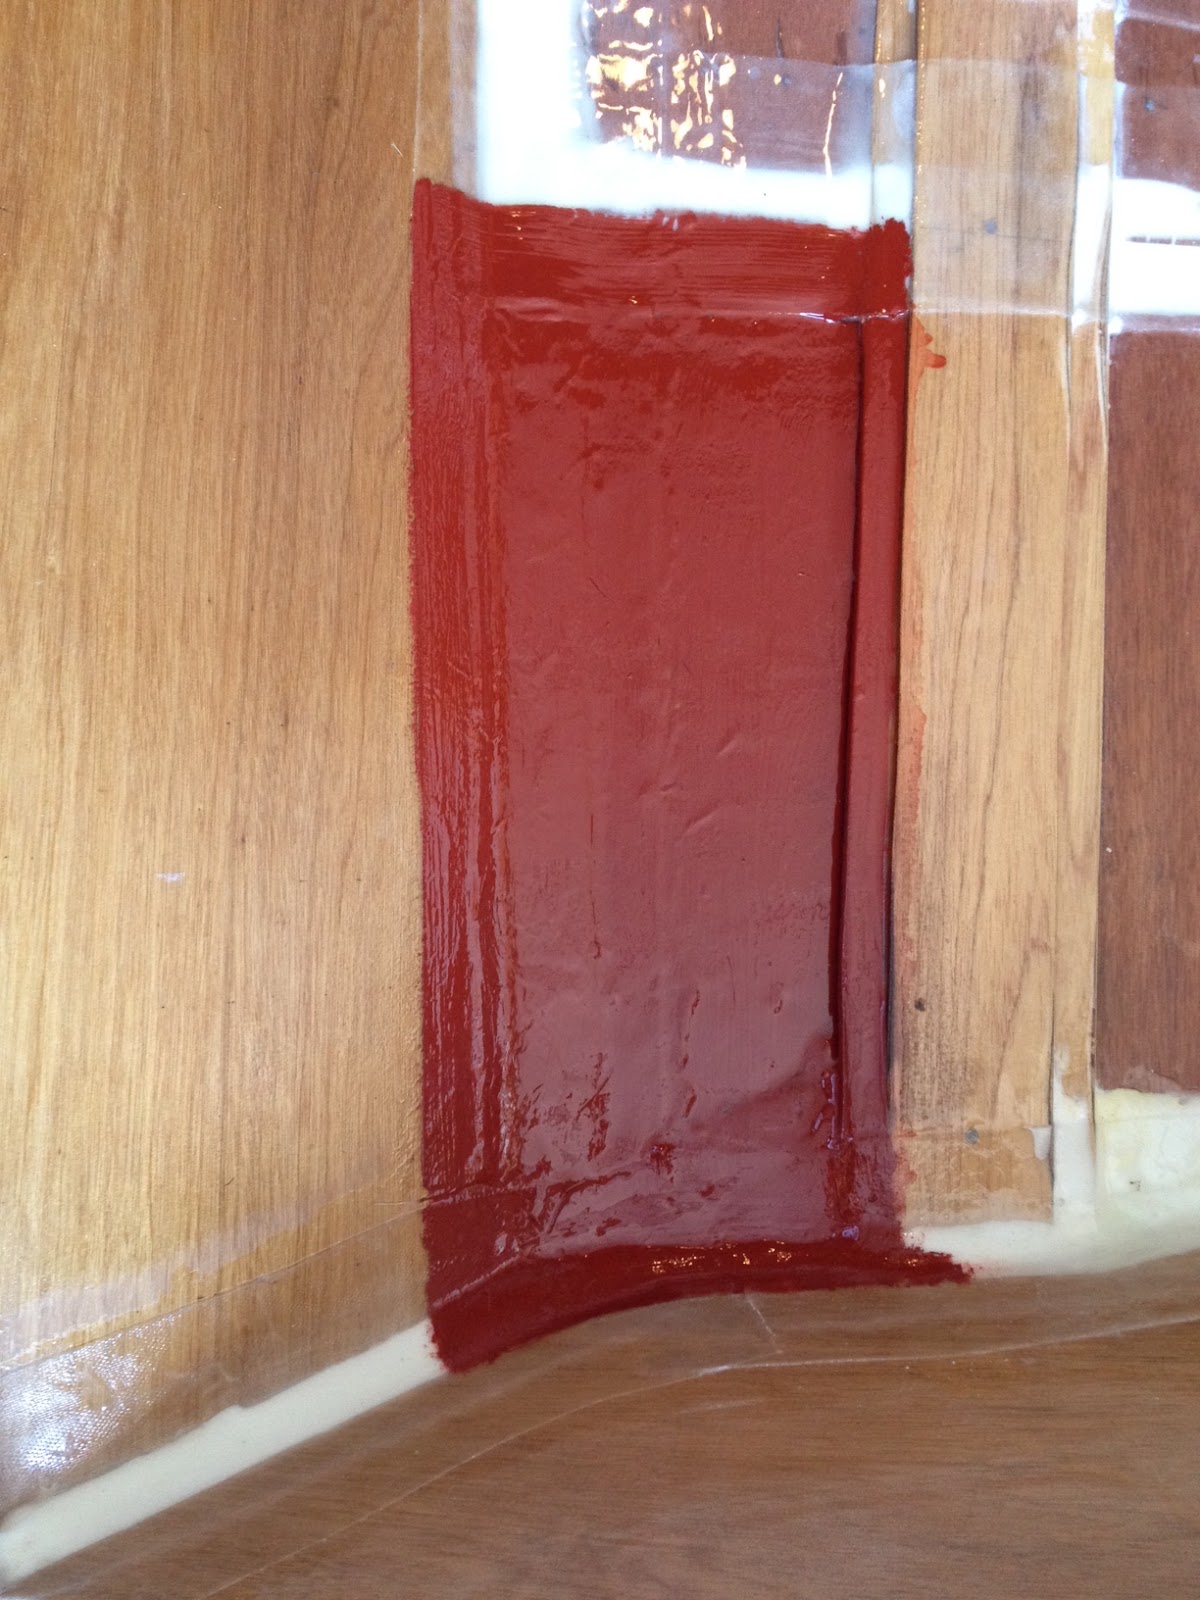
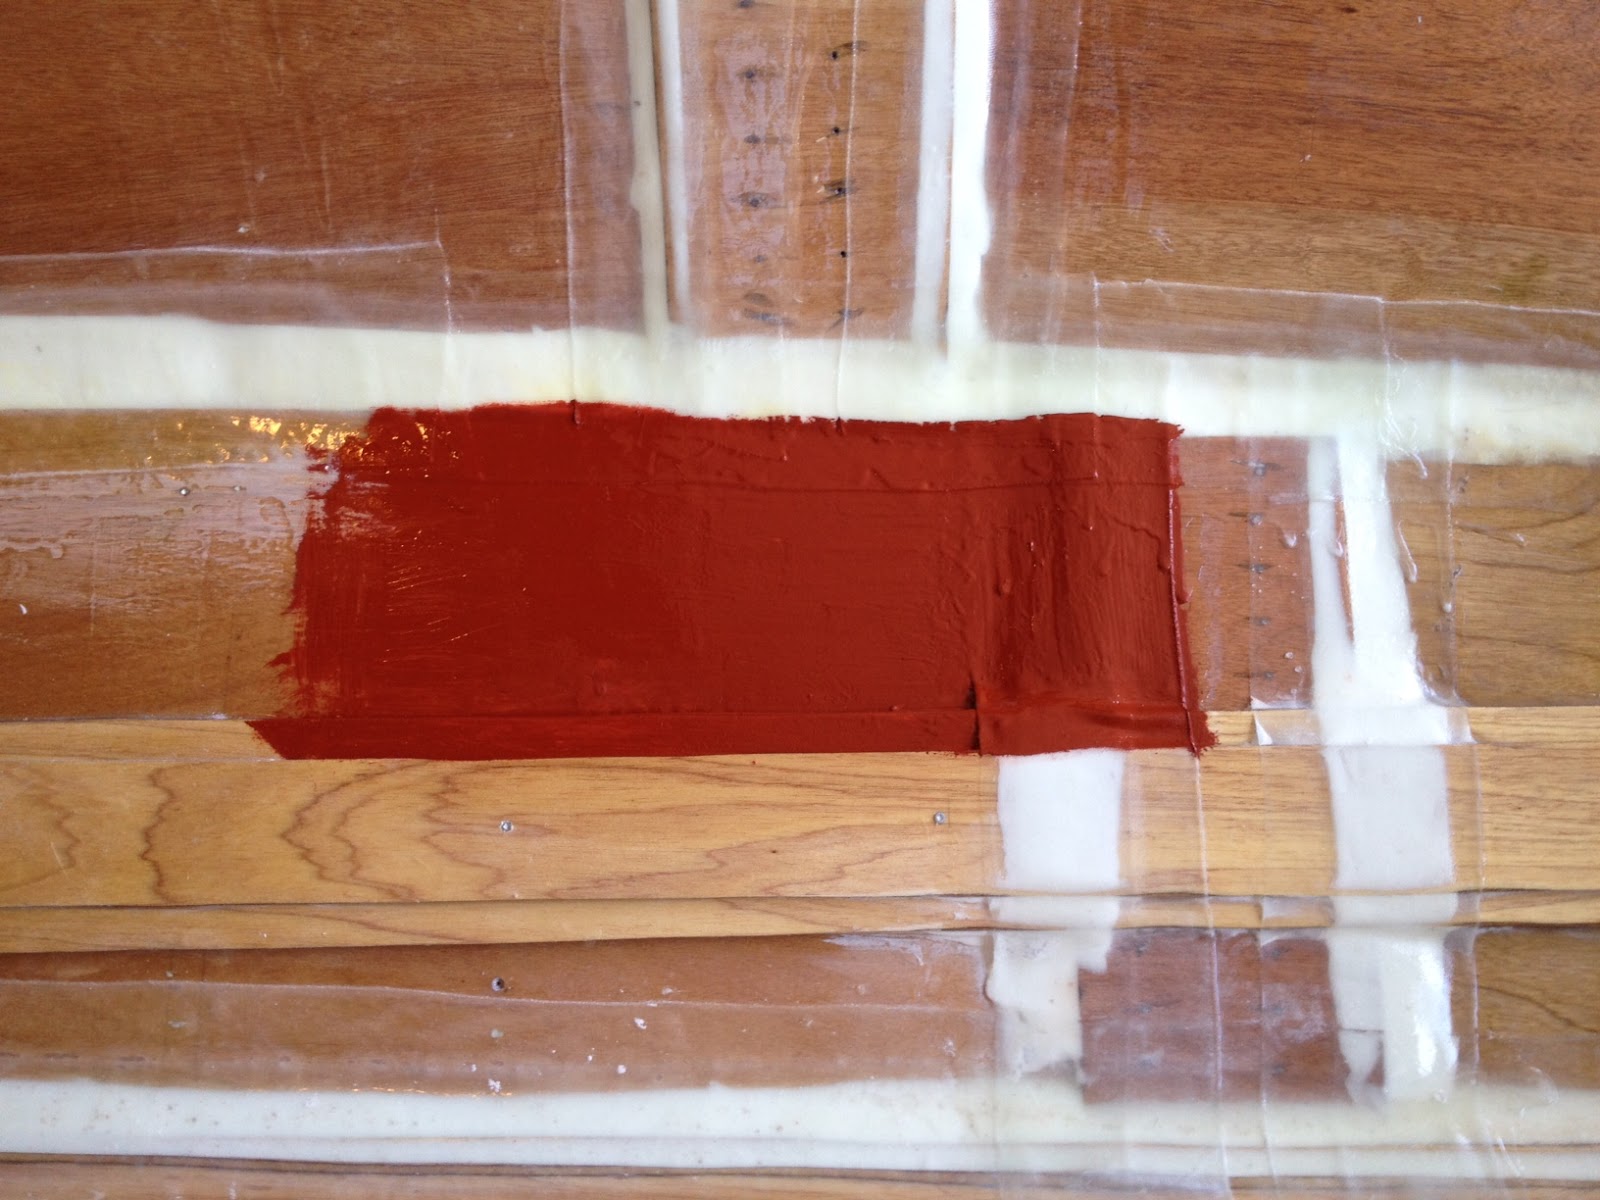
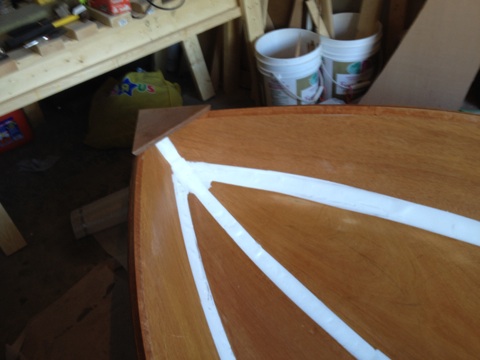
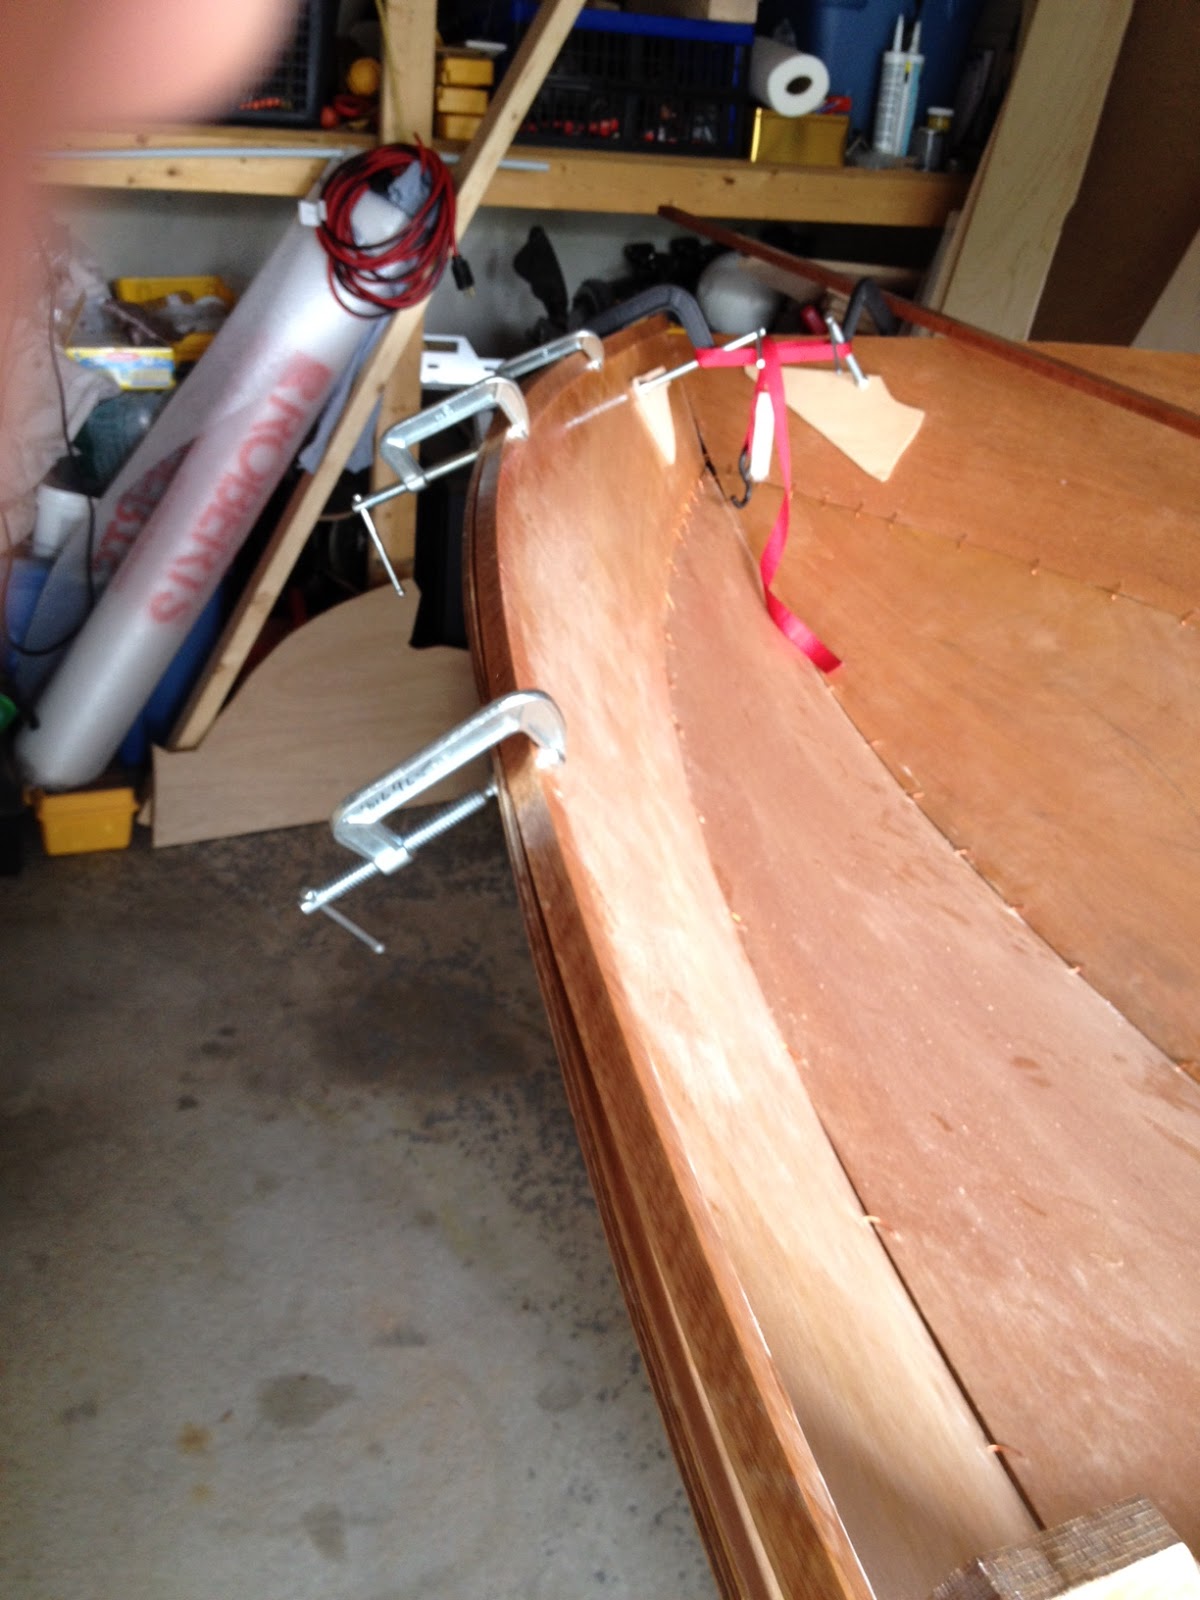
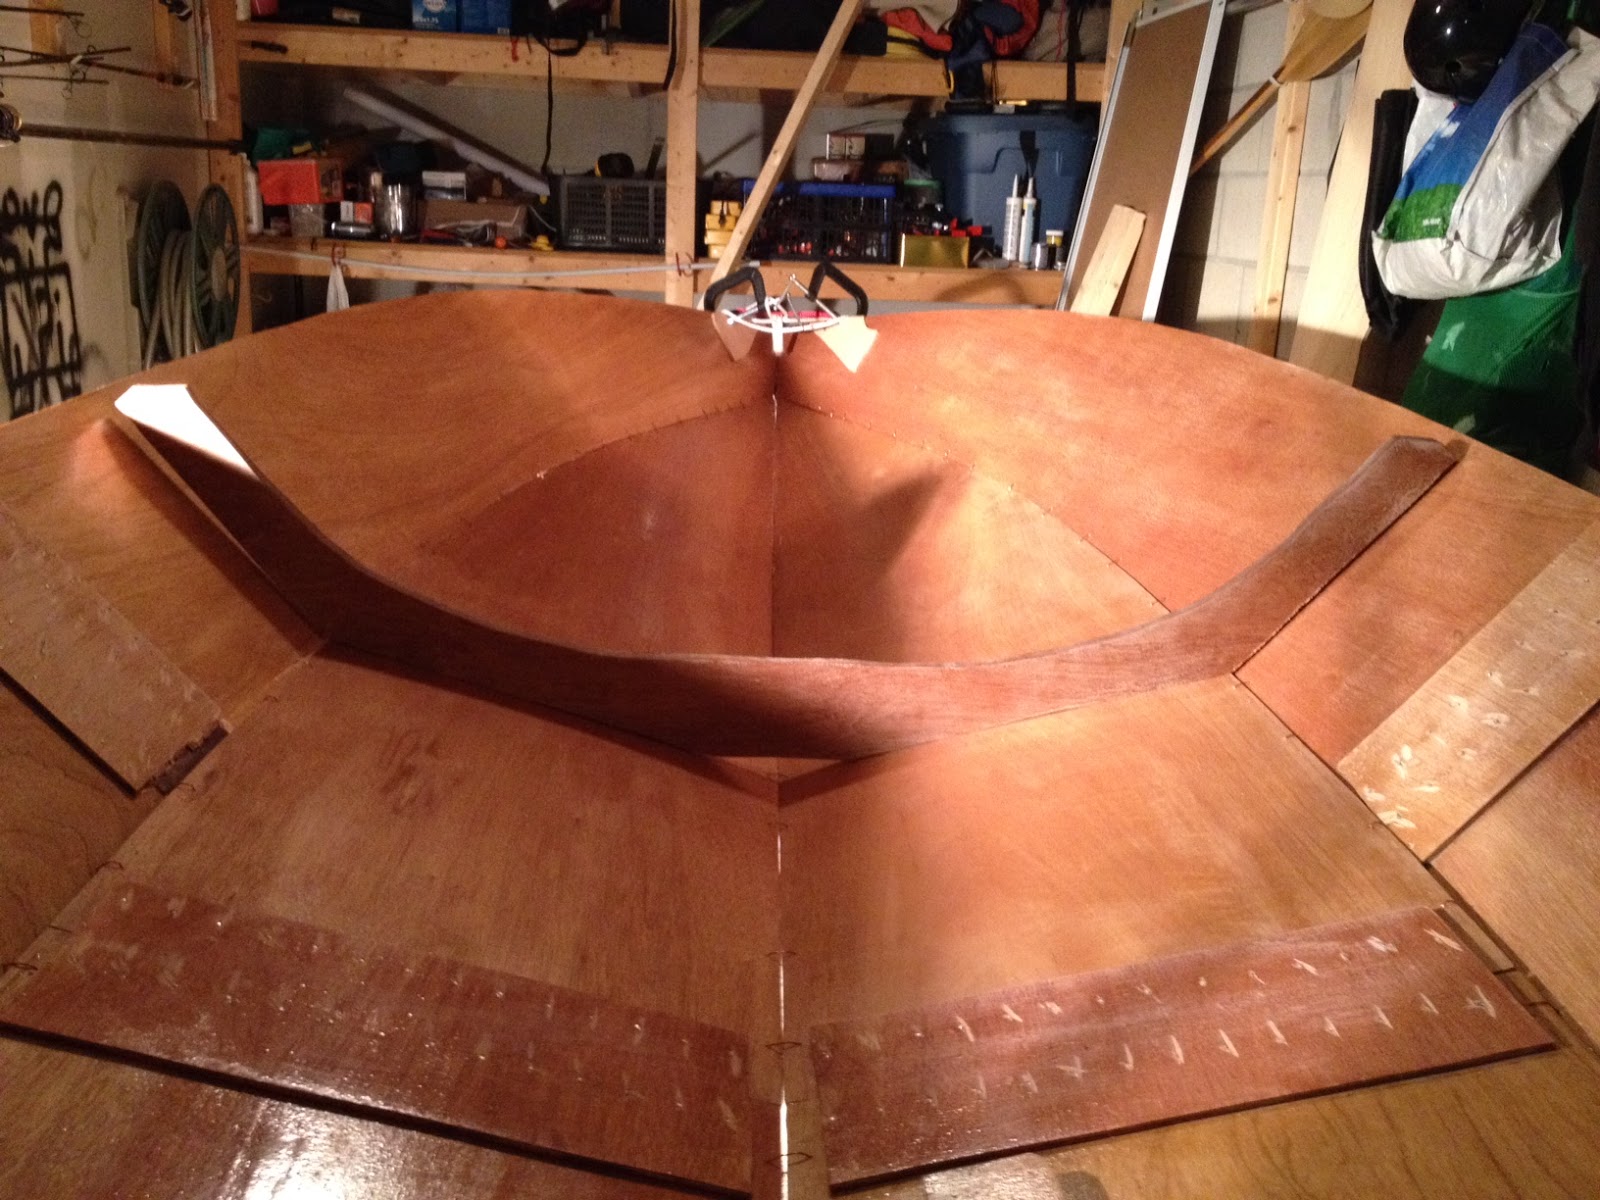
Tested on a small area after the first holes filling and sanding. The darker area on the right shows the epoxy underneath that has not been sanded.


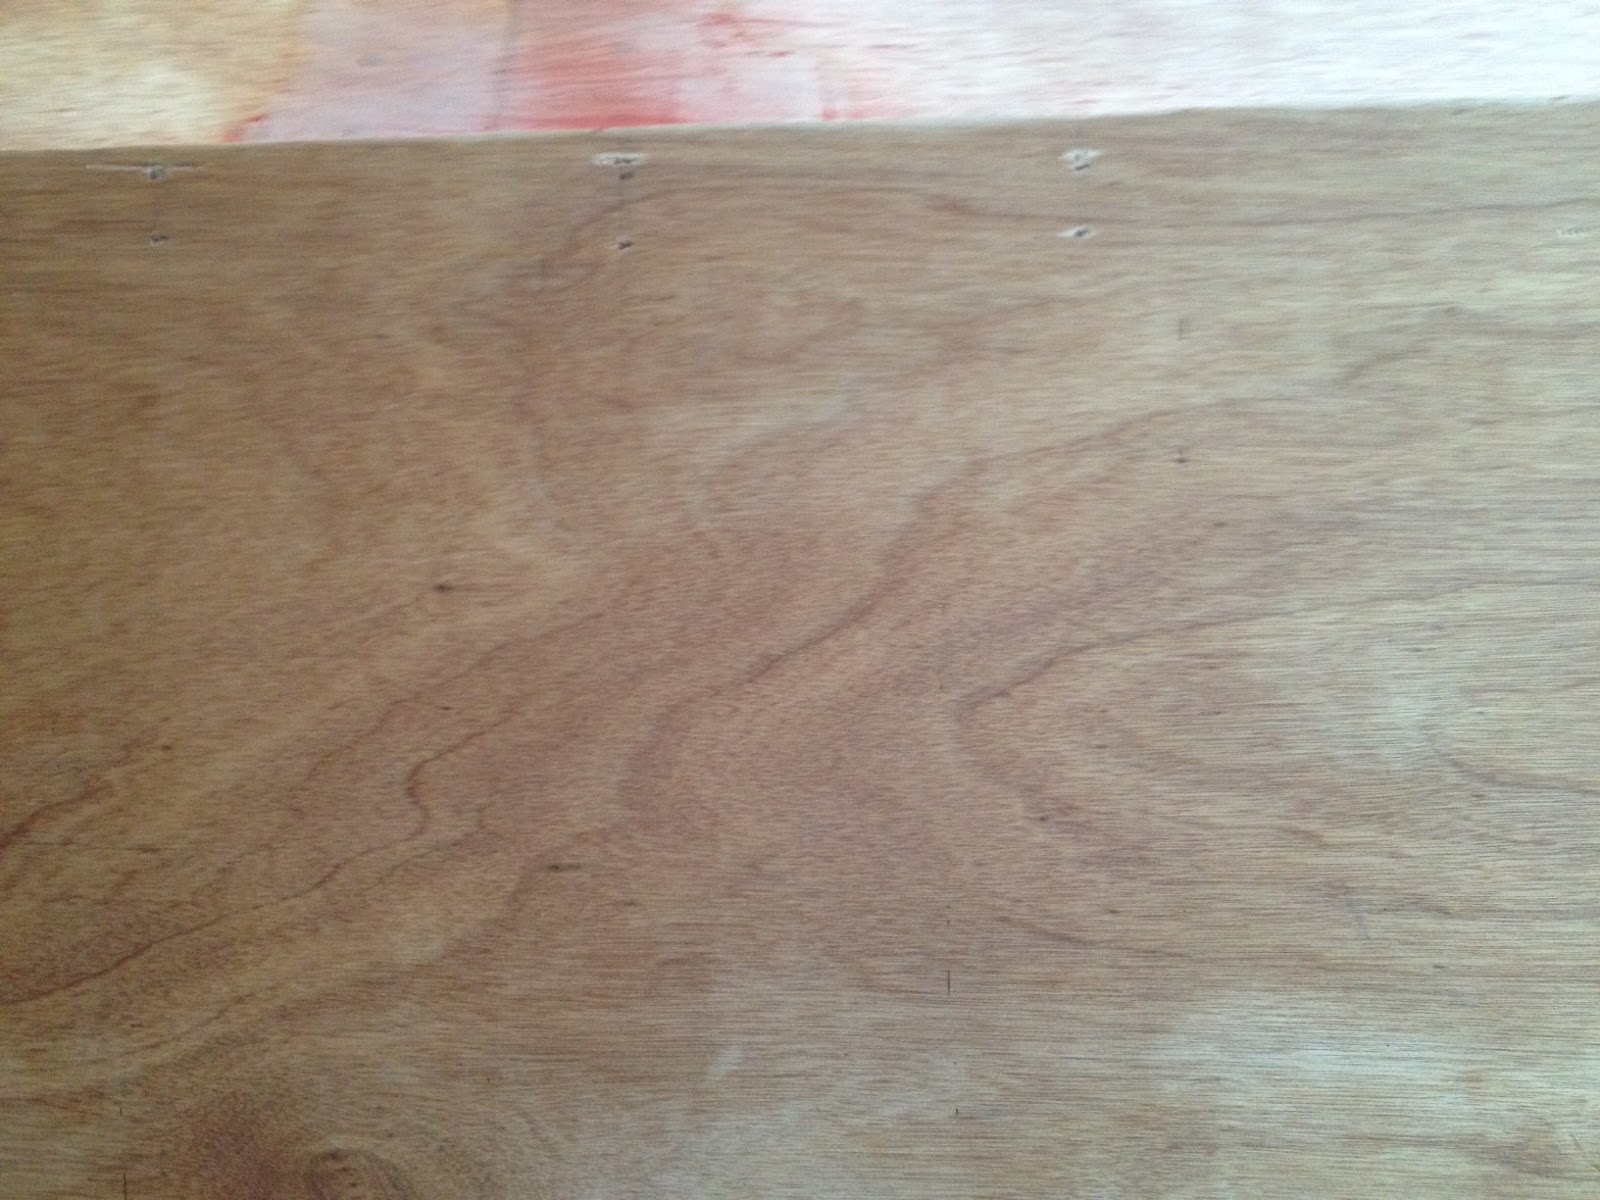
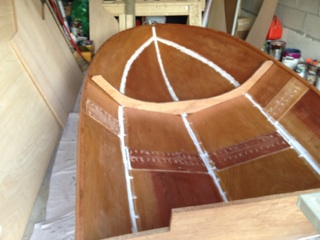
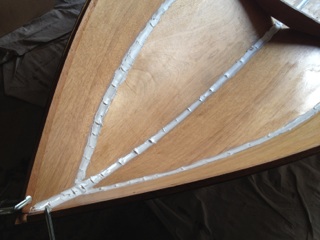
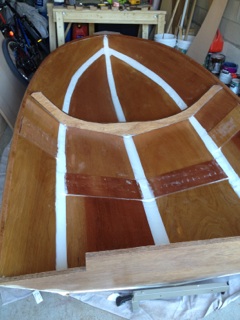
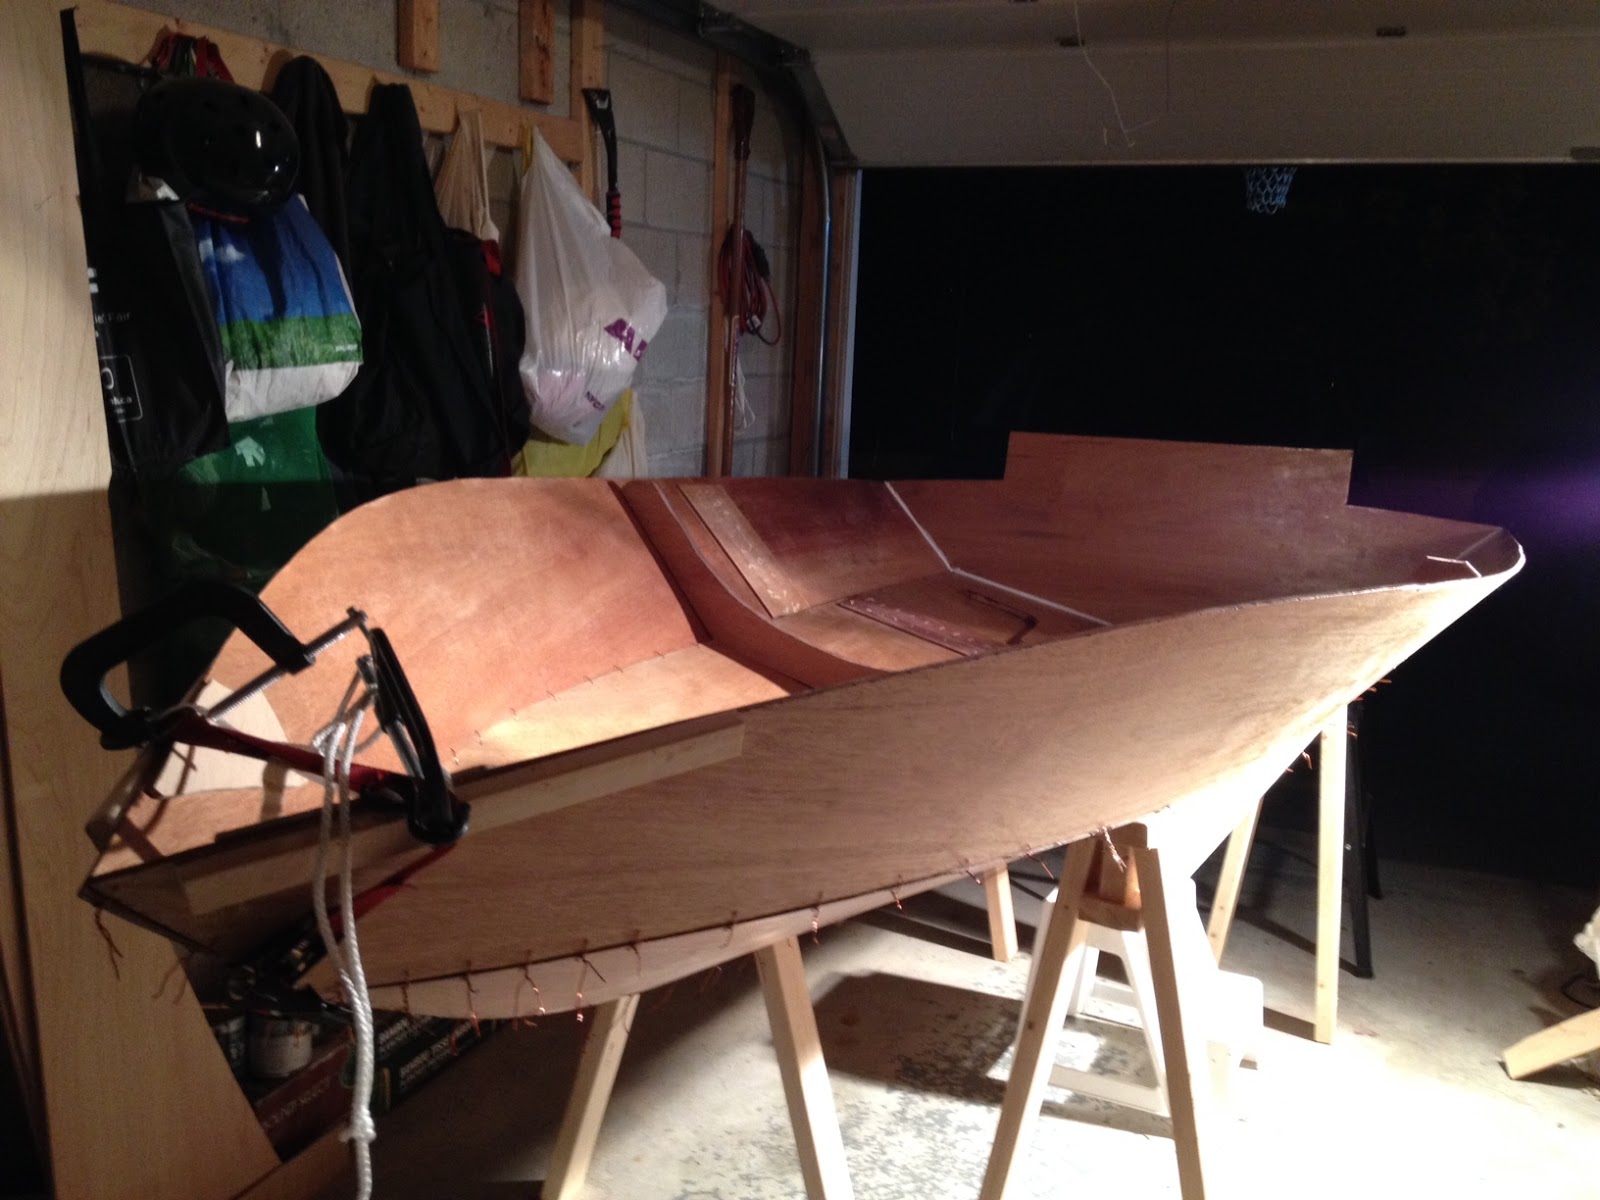
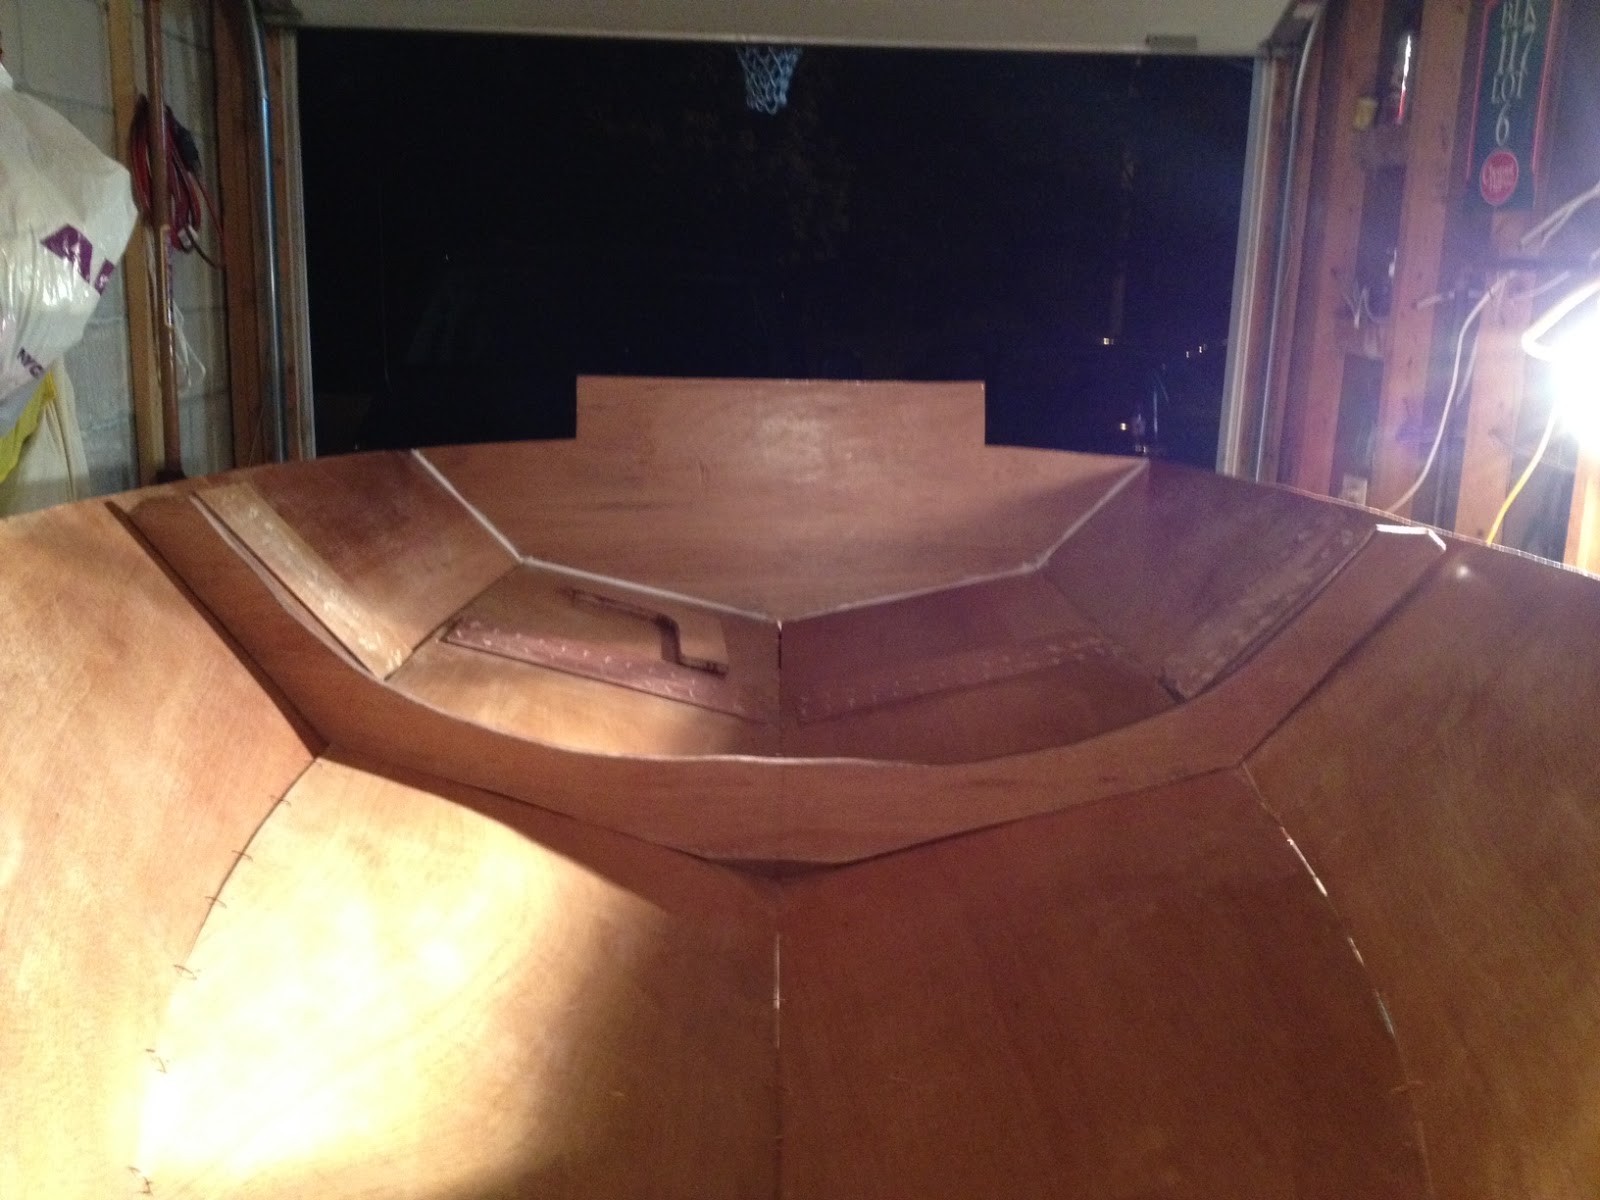
Oct 23rd, 2015: Sanded all the boat to remove epoxy. Boat is now ready for filling only a few areas for the second time.


Advice: Sand all the boat nicely, eliminating the epoxy layer if you have one.

Will continue with the project in the spring of 2016.

Saturday, October 10, 2015

Covering the holes on the hull

Turned over the boat and covered the holes with resin putty.

Sanded it with sandpaper no. 80.


m


Covered the screws at the transom's edge.


Decided to remove the screws from the butt blocks and filled them.


After sanding the first fill coat.


Advice: Sand only in the direction of the wood grain and try to not scratch the surface.
 
I have bought a Dewalt random sander: huge difference. The surface looks great, it is even and the texture of the wood recovered from under the epoxy.


Wednesday, September 30, 2015

Adding the fiberglass and the battens

I have added 4 battens on the keel's stem and 3 on each side.

Fiber glassed with 3" and 5" fiberglass cloth on each join.


Mistakes:

Doing too many things at once: I have glued couple of battens on the bottom of the boat and have decided to add some resin putty transversal on the but blocks as well - without masking them and without building enough resin putty near the edge of the battens.


Tested the Petite paint sealer with no thinner added to it to see if this can be a solution for covering the boat's bottom. Better to do this on a separate plywood piece.


Advice: Use the was paper on the epoxy surfaces to avoid gluing other things.

Saturday, September 19, 2015

Making the fillet

I have added the fillet in two layers.

Use a masking tape to create a nice shape for the fillet.

It may be wiser to add sawdust in the mix for creating a wood color. The sawdust is very dense as opposed to microspheres.

I have mixed sawdust in the resin putty for covering the exterior of the hull (6 parts epoxy and hardener, 3 parts sawdust and 1 part silica).

I have decided to use paint sealer on the interior of the boat to cover the bottom.(Petite Red Mahogany paint sealer). I will do this in the spring after I finish installing the longi used for the seats and the sole.


Mistake: Do not fill the space between the butt blocks up to the butt block surface. In this space will go the batten.

Monday, September 7, 2015

Adding the sheer


Advice: When installing the sheer use the help of another person. It is hard to position the sheer in place, bend it and apply the clamp at the same time.

Create the screws wholes using a countersank drill that will help the screws to stay flat at the surface.

Friday, August 28, 2015

Building the hull

Started too late in the summer (August 15th, 2015).

The form it is used just to create the hull's shape.

Used copper wires to join the pieces and couple of C-clamps in the front.


Mistakes: Do not rush. Take the time to do a proper job. For example, always use pieces of wood to protect the boat's topsides from the C-Clamp marks.
 
Protect the topsides from the resin putty or epoxy by covering them during work. When working with the epoxy or the resin putty inevitable drops of glue will make it on the surface. 
 
Do not make unnecessary holes in the hull. This is to try to protect the plywood side for being able to create a good finish.
 
The aft part of the boat's topsides started to descend bellow the hull from the beam number 8 (check the plans) to create the chine flats. The chine flats I have built started at the half of the boat (my wife was right about this again!)

Saturday, August 15, 2015

Cutting the pieces

The Dyno Mite plans comes in full size.

What one need to do is to copy the drawings on the Marine plywood using carbon paper and cut the pieces using a jigsaw.


The pieces have been sanded on edges and epoxied on both sides.


Mistakes: Do not epoxy the pieces on the exterior if you want a natural wood finish.
Do not screw the longitudinal pieces via the butt block.
Use only epoxy to join them, otherwise you will have a hard time covering the holes if you want a natural wood finish.
 
When drawing the pieces use the edge of the plywood sheet for the straight line especially for the lines that you will eventually join. If you draw close to this line, cutting with the jigsaw and sanding the edge will not produce a perfect line.